Your fabric becomes a canvas in Kandy. This interactive batik workshop teaches you wax-resist design, dyeing methods, and the finishing step that removes wax, so your cloth comes out crisp and intentional. It’s creative, hands-on, and very rooted in how batik is actually made.
I love two things most: you get to make your own design (not just watch), and you learn the process end-to-end, from choosing fabric and waxing to dye types and dewaxing. One consideration is that the studio is in a local neighborhood at 218/6 Thalapiyannawa Rd, Ampitiya, and it can be a little tricky to find—plan for extra time and ask for help if you need it.
In This Review
- Key Points Before You Go
- Wax-Resist Craft in Kandy: What the Workshop Feels Like
- The 3.5 Hours: Your Batik Workshop Timeline
- Step 1: Pick Your Fabric and Learn the Wax Basics
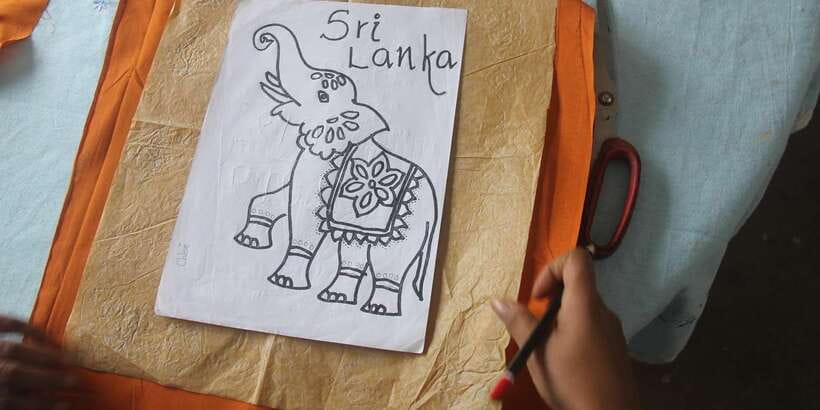
- Step 2: Build a Design With Wax Techniques
- Step 3: Learn Dyes and Dye Mixtures (Napthol, Vat, Reactive)
- Step 4: Finish With Dewaxing (Wax Burning and Wax Boiling)
- Meet the People Behind the Hands-On Teaching
- Wax Techniques You’ll Actually Get to Try
- Dye Skills That Make Your Final Pattern Make Sense
- Tea, Family-Style Atmosphere, and the Extra Comfort Factor
- Location in Ampitiya: Getting There Without Stress
- What to Bring (and What to Wear) so You Don’t Regret It
- Price and Value: Is $28 Worth It?
- Who This Workshop Suits Best (and Who Should Skip It)
- Should You Book This Kandy Batik Workshop?
- FAQ
- How long is the Kandy interactive batik workshop?
- What is included in the price?
- Is lunch included?
- How many people are in the group?
- What language is the instruction?
- What should I bring or wear?
- Can I cancel and get a refund?
Key Points Before You Go
- Small group (up to 10) means you can get real attention while you work.
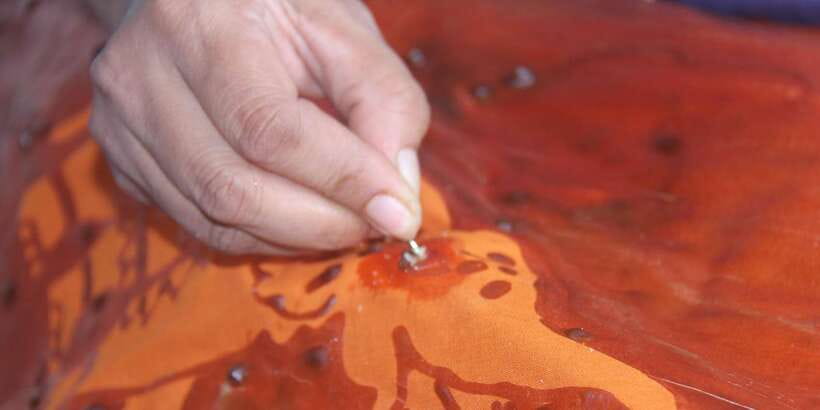
- You’ll use classic batik tools like tjanting and a Henry tool, plus techniques like stamping and wax cracking.
- The workshop covers both wax work and dye chemistry concepts (napthol, vat, and reactive dyes).
- You’ll finish with dewaxing methods (wax burning and wax boiling) so your pattern appears.
- You start with herbal tea, and the experience is set up as a calm, family-style craft session.
Wax-Resist Craft in Kandy: What the Workshop Feels Like
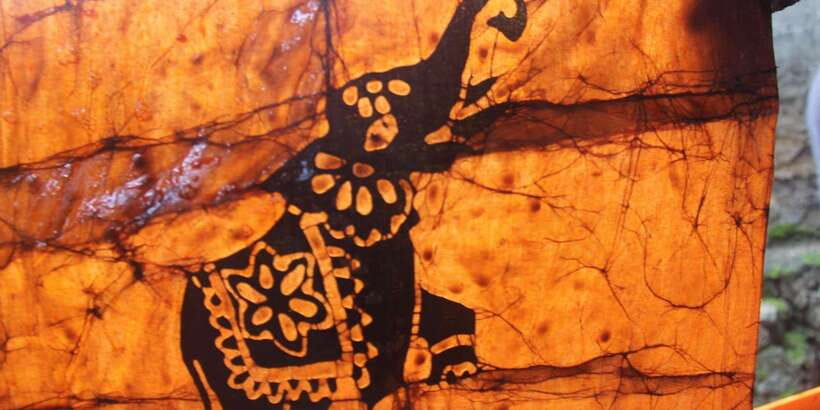
If you’ve ever wanted a souvenir that looks like effort, batik is the answer. The process turns plain cloth into patterned artwork through a smart trick: cover parts with wax so dye can’t reach them. Then you repeat, dye again, and finally remove the wax so the original lines and shapes pop.
What I like about this specific Kandy workshop is the pacing. It’s not just a craft demo with one photo stop. You move from step to step: fabric choice, wax mixture and waxing, creating your design, dye application, and then the last stage where wax has to come off cleanly. When you understand that flow, batik stops feeling mysterious.
The session is taught in English by the instructor team, and it stays small, limited to 10 participants. That matters. Wax work is delicate. A funnel drip in the wrong spot or a rushed wax line can blur your pattern, and you’ll want guidance when you’re learning.
You can also read our reviews of more tours and experiences in Kandy.


The 3.5 Hours: Your Batik Workshop Timeline
The workshop runs about 3.5 hours, so you’re not committing a full day. It’s long enough to do real work, but short enough that you can still enjoy Kandy afterward.
Step 1: Pick Your Fabric and Learn the Wax Basics
You start by selecting the fabric. That choice isn’t just small talk. Fabric affects how the wax sits, how dye spreads, and how crisp the final pattern looks. After that, you learn about the wax mixtures and waxing techniques used in traditional batik.
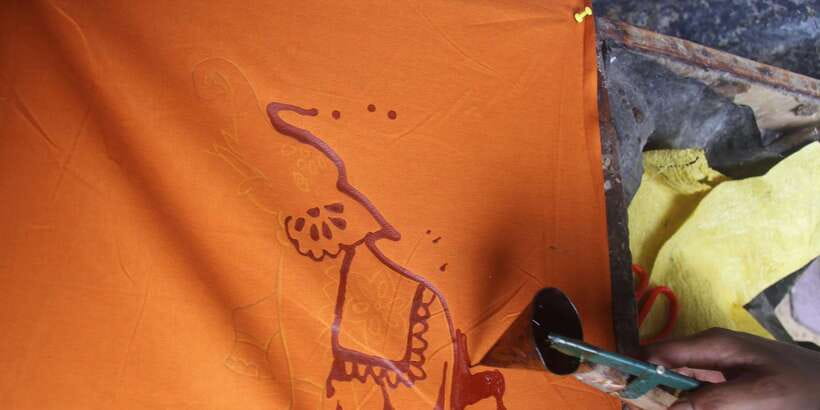
They’ll show you how to create and apply wax using tools like:
- a funnel
- tjanting
- a Henry tool
Even if you’re not artist-y, you’ll get a process you can follow. The goal isn’t perfection on the first try. The goal is learning how wax behaves, how lines flow, and how to place designs so they survive dyeing.
Step 2: Build a Design With Wax Techniques
Next comes the creative part. You’ll create your own batik cloth under the watchful guidance of a batik expert. You can use tools and methods such as:
- wax spraying
- stamping
- cracking
- brush arts
- wax designing
This is where the workshop feels most satisfying. You’re turning a flat idea into something tangible. Some people focus on a simple layout. Others go bolder—writing names or adding patterns. In the same spirit, past participants have shared that they enjoyed writing their names in Sinhalese and tweaking designs as they went.
Step 3: Learn Dyes and Dye Mixtures (Napthol, Vat, Reactive)
Wax is only half the story. After your wax pattern is set, you move into dyeing.
You’ll learn about dyes and applications, including dye mixtures and techniques such as:
- napthol dyes
- vat dyes
- reactive dyes
You don’t need to memorize chemistry terms. What matters is understanding how the type of dye affects results and how dye applications fit into the batik process. When you grasp that, your design decisions make more sense—why certain shapes look stronger or why layering dye can change the final look.





Step 4: Finish With Dewaxing (Wax Burning and Wax Boiling)
Finally, you remove the wax so the dyed areas and protected areas reveal the pattern. This is where the cloth transforms from “covered in wax” into actual art.
You’ll learn about dewaxing using methods like:
- wax burning
- wax boiling (dewaxing)
That end-stage is important to understand, because batik isn’t just drawing. It’s drawing that survives chemical steps, heat steps, and timing. Learning how wax comes off cleanly is part of the real craft.
Meet the People Behind the Hands-On Teaching
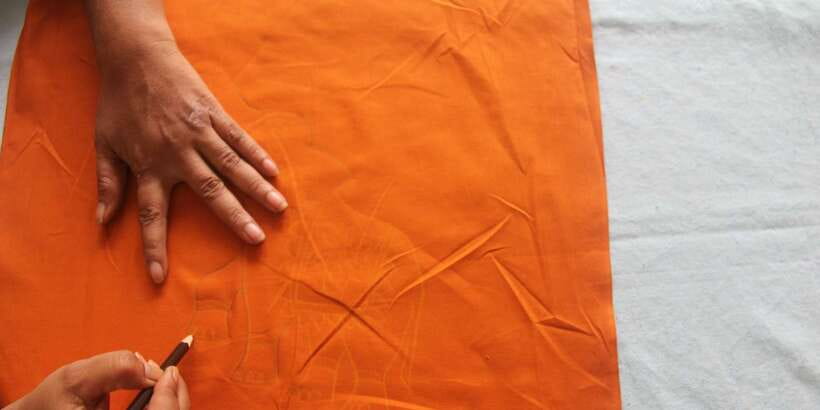
One reason these workshops earn such strong praise is the teaching style. It’s patient and practical, with instructors who guide you step-by-step while still letting you make your own choices.
In this case, the team includes instructors like Anuja and Manugi, and you may also meet Manuth for help during the process. Past participants often call out their kindness, their willingness to correct mistakes, and the way they make even non-artsy people feel capable.
That combination matters: batik is detail work. A small adjustment in wax flow can make a big difference. You’ll want a teacher who can spot what’s going wrong and show you how to fix it without taking over your design.
Wax Techniques You’ll Actually Get to Try
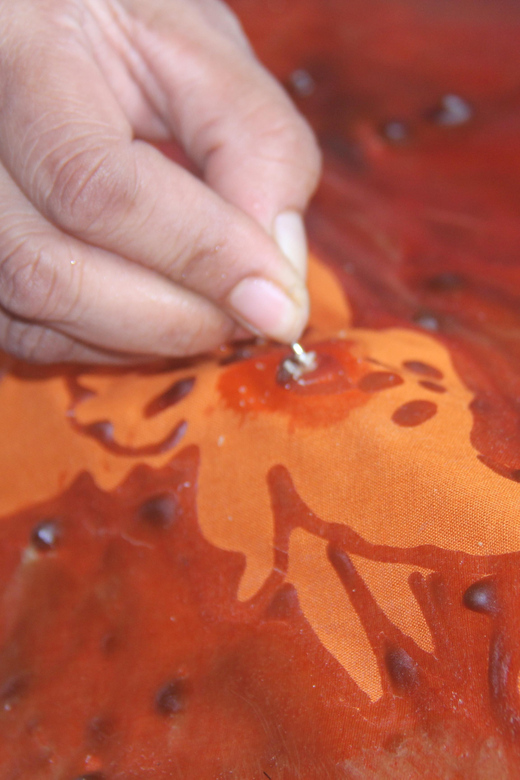
If you’re worried you’ll spend your time watching someone else work, don’t. This is built around hands-on participation, with you using the tools and techniques during the session.
Here are some of the specific techniques named for the workshop, and what they mean for you:
- Wax spraying: good for texture and small controlled areas.
- Stamping: helps you repeat shapes and get pattern rhythm.
- Cracking: creates an effect based on how wax sets and breaks, which can add character to backgrounds.
- Brush arts: lets you paint-like your design directly with wax.
- Wax designing: a broader category that often blends linework and shape planning.
This is a craft where “trying” is the whole point. You’ll likely make decisions on the spot: thicker lines here, lighter coverage there, and adjustments based on how your wax is behaving.
Dye Skills That Make Your Final Pattern Make Sense
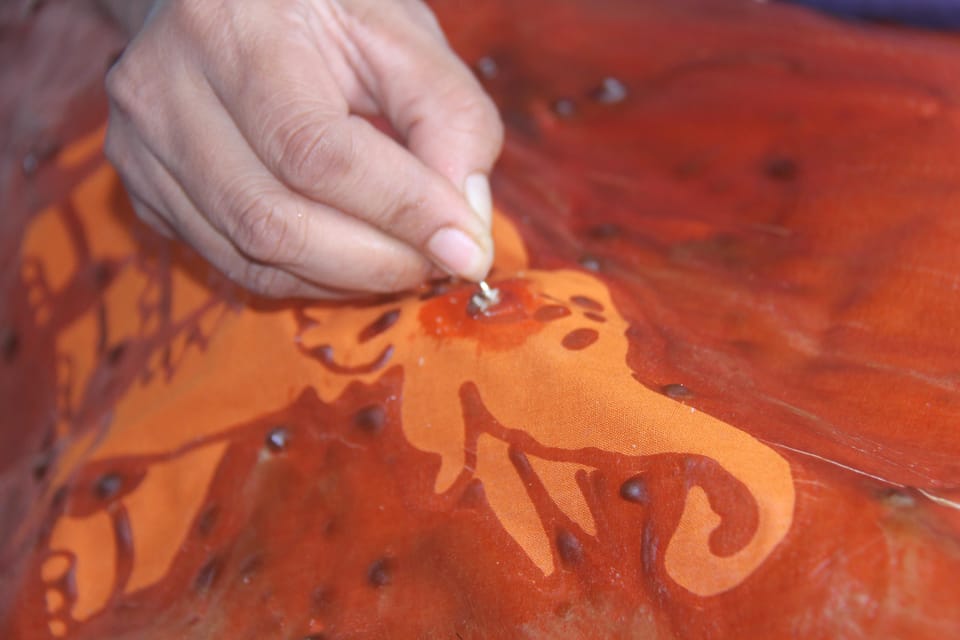
A lot of souvenirs teach you how something looks. This one tries to teach you why it looks that way.
When the workshop covers dye mixtures and techniques like napthol, vat, and reactive dyes, it gives you a practical framework. You start to see batik as layering and protection, not random staining.
You’ll learn about dye applications and how protected areas stay undyed while exposed areas take color. That’s the logic you need to understand any batik fabric you see later—how patterns were planned, where layers came from, and why some areas appear sharper or more layered.
Tea, Family-Style Atmosphere, and the Extra Comfort Factor
Your included refreshment is herbal tea. And from what’s been described by participants, this workshop often feels like you’re welcomed into a home rhythm rather than processed through a tourist funnel.
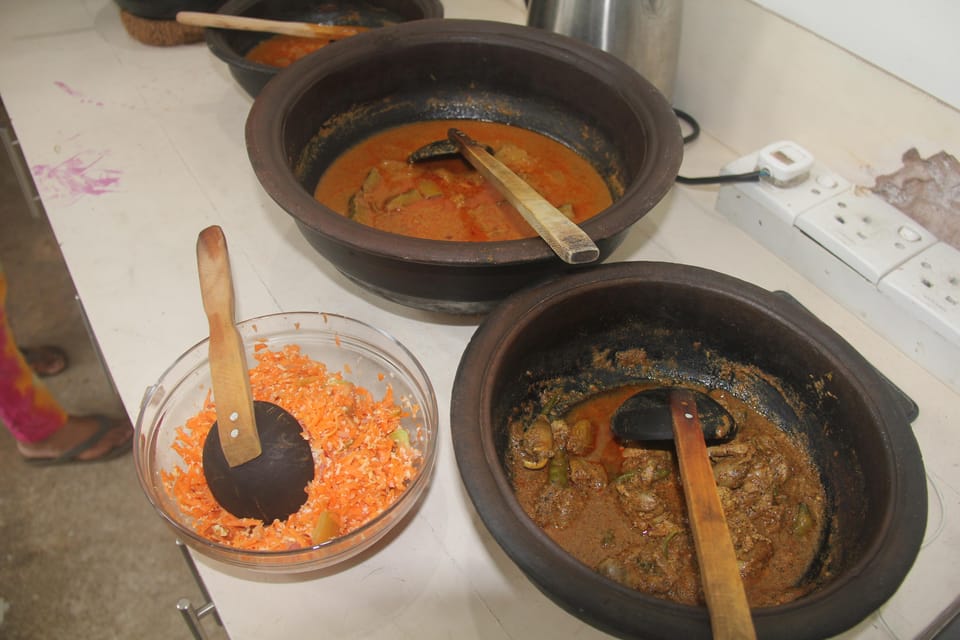
Some guests have also mentioned food like sandwiches or a full Sri Lankan lunch being offered alongside the craft time, even though lunch isn’t listed as included in the basic details. So here’s my practical advice: treat herbal tea as the guaranteed included item, and if you’re hoping for lunch, confirm when you book.
If you’re trying to balance culture with downtime, this format works well. It’s a break from Kandy’s busyness. You sit, work slowly, learn real steps, and leave with a physical piece you made.
Location in Ampitiya: Getting There Without Stress
The meeting point is at:
218/6 Thalapiyannawa Rd, Ampitiya
This matters because the area is local, and mapping apps can be imperfect. More than one participant has advised that the place can be hard to spot at first. If you’re arriving by tuk-tuk, give the driver the address and keep your phone map handy. You can also ask the host for help with directions once you’re close.
Plan for a little extra buffer time, especially if it’s your first day in Kandy.
What to Bring (and What to Wear) so You Don’t Regret It
Dress for craft mess. You’re working with wax and dye, and even with care, accidents happen.
Bring:
- comfortable clothes
Also consider packing:
- a change of clothes (dye or wax can get on what you’re wearing)
This is one of those “small detail, big relief” tips. Wax can be stubborn to get off, and dye is harder than most people expect. If you have a favorite shirt, don’t gamble with it.
Price and Value: Is $28 Worth It?
At $28 per person for about 3.5 hours, this is priced like a serious craft workshop, not a quick demo. The big value drivers are what’s included:
- hands-on experience making your own batik cloth
- all tools and equipment you need
- cloth, wax, and dyes for the session
- herbal tea
You’re not paying extra for materials, and you’re not just getting a guided walk-through. You leave with something you made—one fabric item meant to be taken home, often described as the best souvenir because it carries your effort, mistakes included.
The only notable items not listed as included are transportation and lunch. If you’re already staying in central Kandy, transport might be minor. If you’re far out, consider your ride time and cost. But even then, the included materials and tool instruction usually make the overall cost feel reasonable.
Who This Workshop Suits Best (and Who Should Skip It)
This is a great fit for:
- people who want a hands-on craft in Kandy
- anyone who likes learning a process, not just buying a product
- travelers who want a smaller group experience with patience and guidance
- visitors who want an authentic cultural activity tied to traditional making
It’s not suitable for:
- pregnant women
- people with back problems
That’s worth taking seriously. Craft activities often involve standing, leaning, and close work for long stretches.
Should You Book This Kandy Batik Workshop?
Book it if you want a souvenir with real meaning and you enjoy learning with your hands. The combination of small group teaching, real wax techniques (including tjanting and Henry tool use), dye concepts (napthol, vat, reactive), and the final dewaxing step makes this more than a “look what I can do” show.
Skip or rethink if you’re very sensitive to mess or you have mobility limitations that make craft posture difficult. Also, if you’re short on time in Kandy, this takes 3.5 hours, and you’ll want a bit of buffer for finding the studio in Ampitiya.
If you’re deciding between “buy batik” and “make batik,” I’d choose making. You’ll understand what makes those patterns work, and you’ll have a piece of Sri Lanka that isn’t just decorative. It’s personal.
FAQ
How long is the Kandy interactive batik workshop?
The duration is about 3.5 hours.
What is included in the price?
You get hands-on instruction, all tools and equipment, the cloth, wax, and dyes needed for the session, and herbal tea.
Is lunch included?
Lunch is not listed as included. You might find extra food offered during the session, but confirm when you book.
How many people are in the group?
The group is small, limited to 10 participants.
What language is the instruction?
The instructor provides teaching in English.
What should I bring or wear?
Wear comfortable clothes. It’s also a good idea to bring a change of clothes in case paint or dye gets on what you’re wearing.
Can I cancel and get a refund?
You can cancel up to 24 hours in advance for a full refund.